

The home renovation process follows the same order on almost every project, whether it is one room or a whole house. Knowing the steps in advance helps you make decisions at the right time, plan your budget and know what to expect each week. Here is the process step by step, with renovation tips for each stage.
Westcove Renovation has managed renovations across Richmond since 2016. For an overview of our work, visit our Richmond home renovation page. On larger projects, such as whole-home renovations in Broadmoor, every step below matters even more.
List what you want the renovation to give you: more space, a better kitchen, an extra bathroom, more light. Rank the list. Renovation tip: collect photos of rooms you like, but write down why you like them. Our home renovation ideas list is a good place to start.
Decide on a working number and keep about 10 percent aside as a contingency. Our guide to how much it costs to renovate a house gives typical ranges, and our renovation cost guide explains what moves the price.
Meet two or three contractors, ask for the same written scope to be priced and check licensing, insurance and finished work. Consumer Protection BC has general advice on written contracts. Our guide on hiring a Richmond renovation contractor lists the questions to ask.
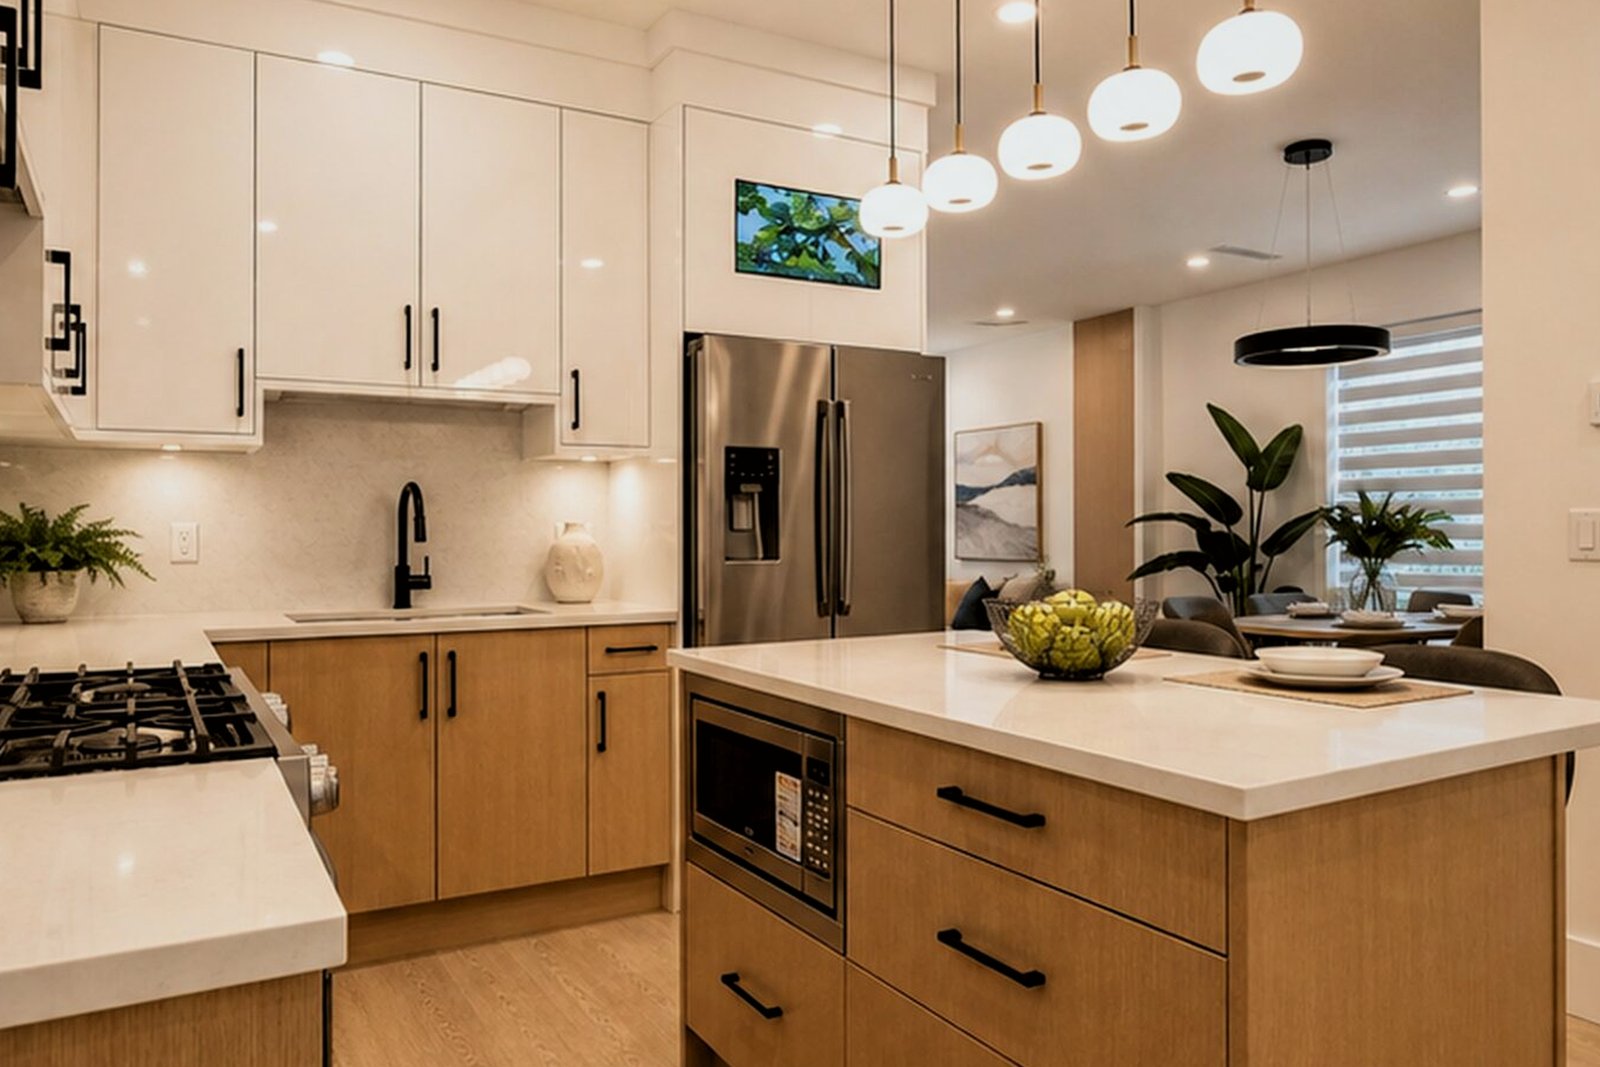
The layout is finalized, then finishes are chosen: cabinets, counters, tile, flooring, fixtures and lighting. Renovation tip: make every selection before demolition. Changes during construction are the most common reason projects run long.
Structural, plumbing and electrical changes usually need a permit, and condos need strata approval under the BC Strata Property Act. The City of Richmond permit page lists what to submit, and our guide to renovation permits in Richmond explains when approval is needed and how it affects the start date.
Old finishes come out, then framing, plumbing, electrical and ventilation are set up for the new layout. Inspections happen before walls are closed.
Insulation, drywall and paint come first, followed by flooring, cabinets, counters, tile, fixtures and trim. This is when the space starts to look like the plan.
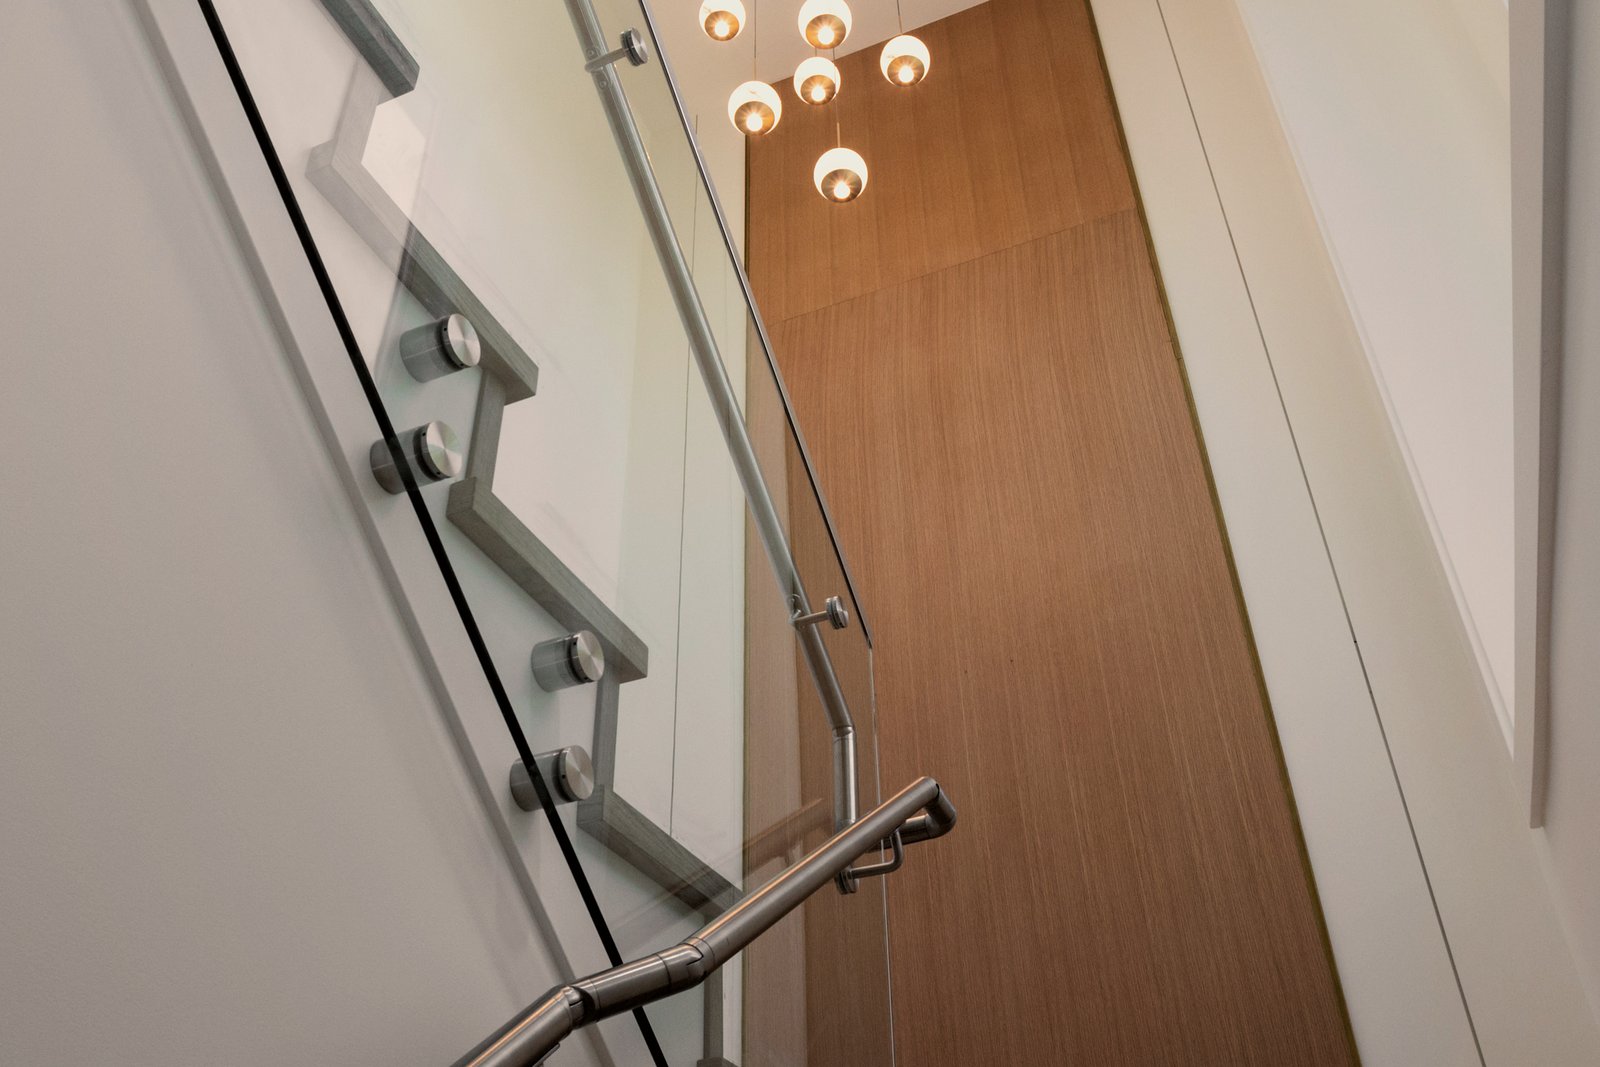
You walk through every room with your contractor, note any touch-ups and confirm everything works before the project is handed back to you.
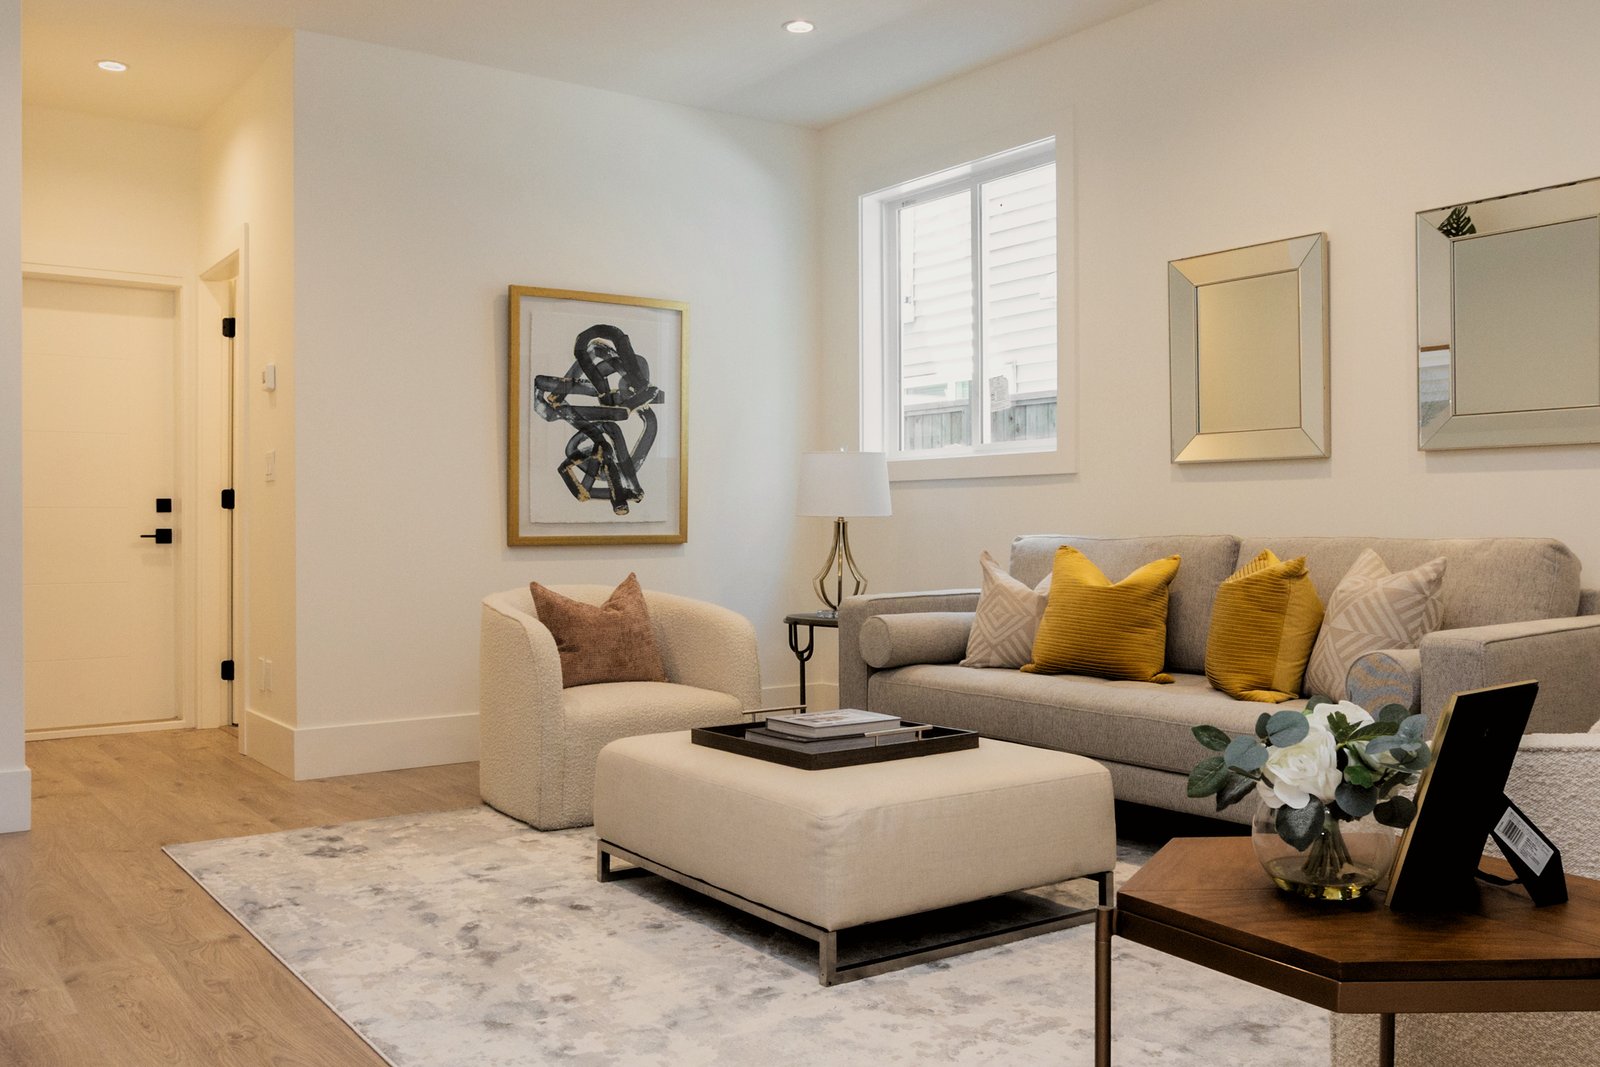
Every home renovation process is different, but following the steps in order is what keeps the schedule predictable.
Many families stay home during a single-room renovation. For a kitchen, plan a temporary kitchen with a fridge, microwave and kettle in another room. For larger projects that affect the main floor, bathrooms or the roof, a short move can make the renovation faster and calmer. Your contractor can tell you which stages are the most disruptive so you can plan around them.
Defining your goals. Write down what you want the renovation to change, rank it and set a working budget before talking to contractors.
Start with planning and permits, then structural changes, then plumbing, electrical and heating, then insulation and drywall, and finish with flooring, cabinets, tile, paint and fixtures. Work from the structure out to the finishes.
A bathroom usually takes 3 to 5 weeks of construction, a kitchen 6 to 10 weeks, and a whole home several months plus design and permit time.
Often yes for one or two rooms. For whole-home or main-floor renovations, many families move out for part of the project so work can move faster.
A clear process makes a renovation calmer and more predictable. Browse finished projects in the Westcove renovation portfolio, then request a renovation estimate and we will walk you through each step for your home.